Tutorials
How to Look Good in Wedding Photos: Hair, Makeup and Confidence
Wedding photographs are the one set of pictures most people know they will keep, and the beauty decisions around them are made under a strange kind of pressu...
Wedding photographs are the one set of pictures most people know they will keep, and the beauty decisions around them are made under a strange kind of pressure: months of planning, a fixed date, and no opportunity to reshoot. The good news is that looking good in the photographs depends on a small number of specific, practical choices rather than on luck or genetics.
Whether you are the bride, a bridesmaid or a guest, the goal is the same: look like the best version of yourself rather than like somebody else. Cameras reward preparation and comfort, and they punish anything that has to be constantly adjusted.
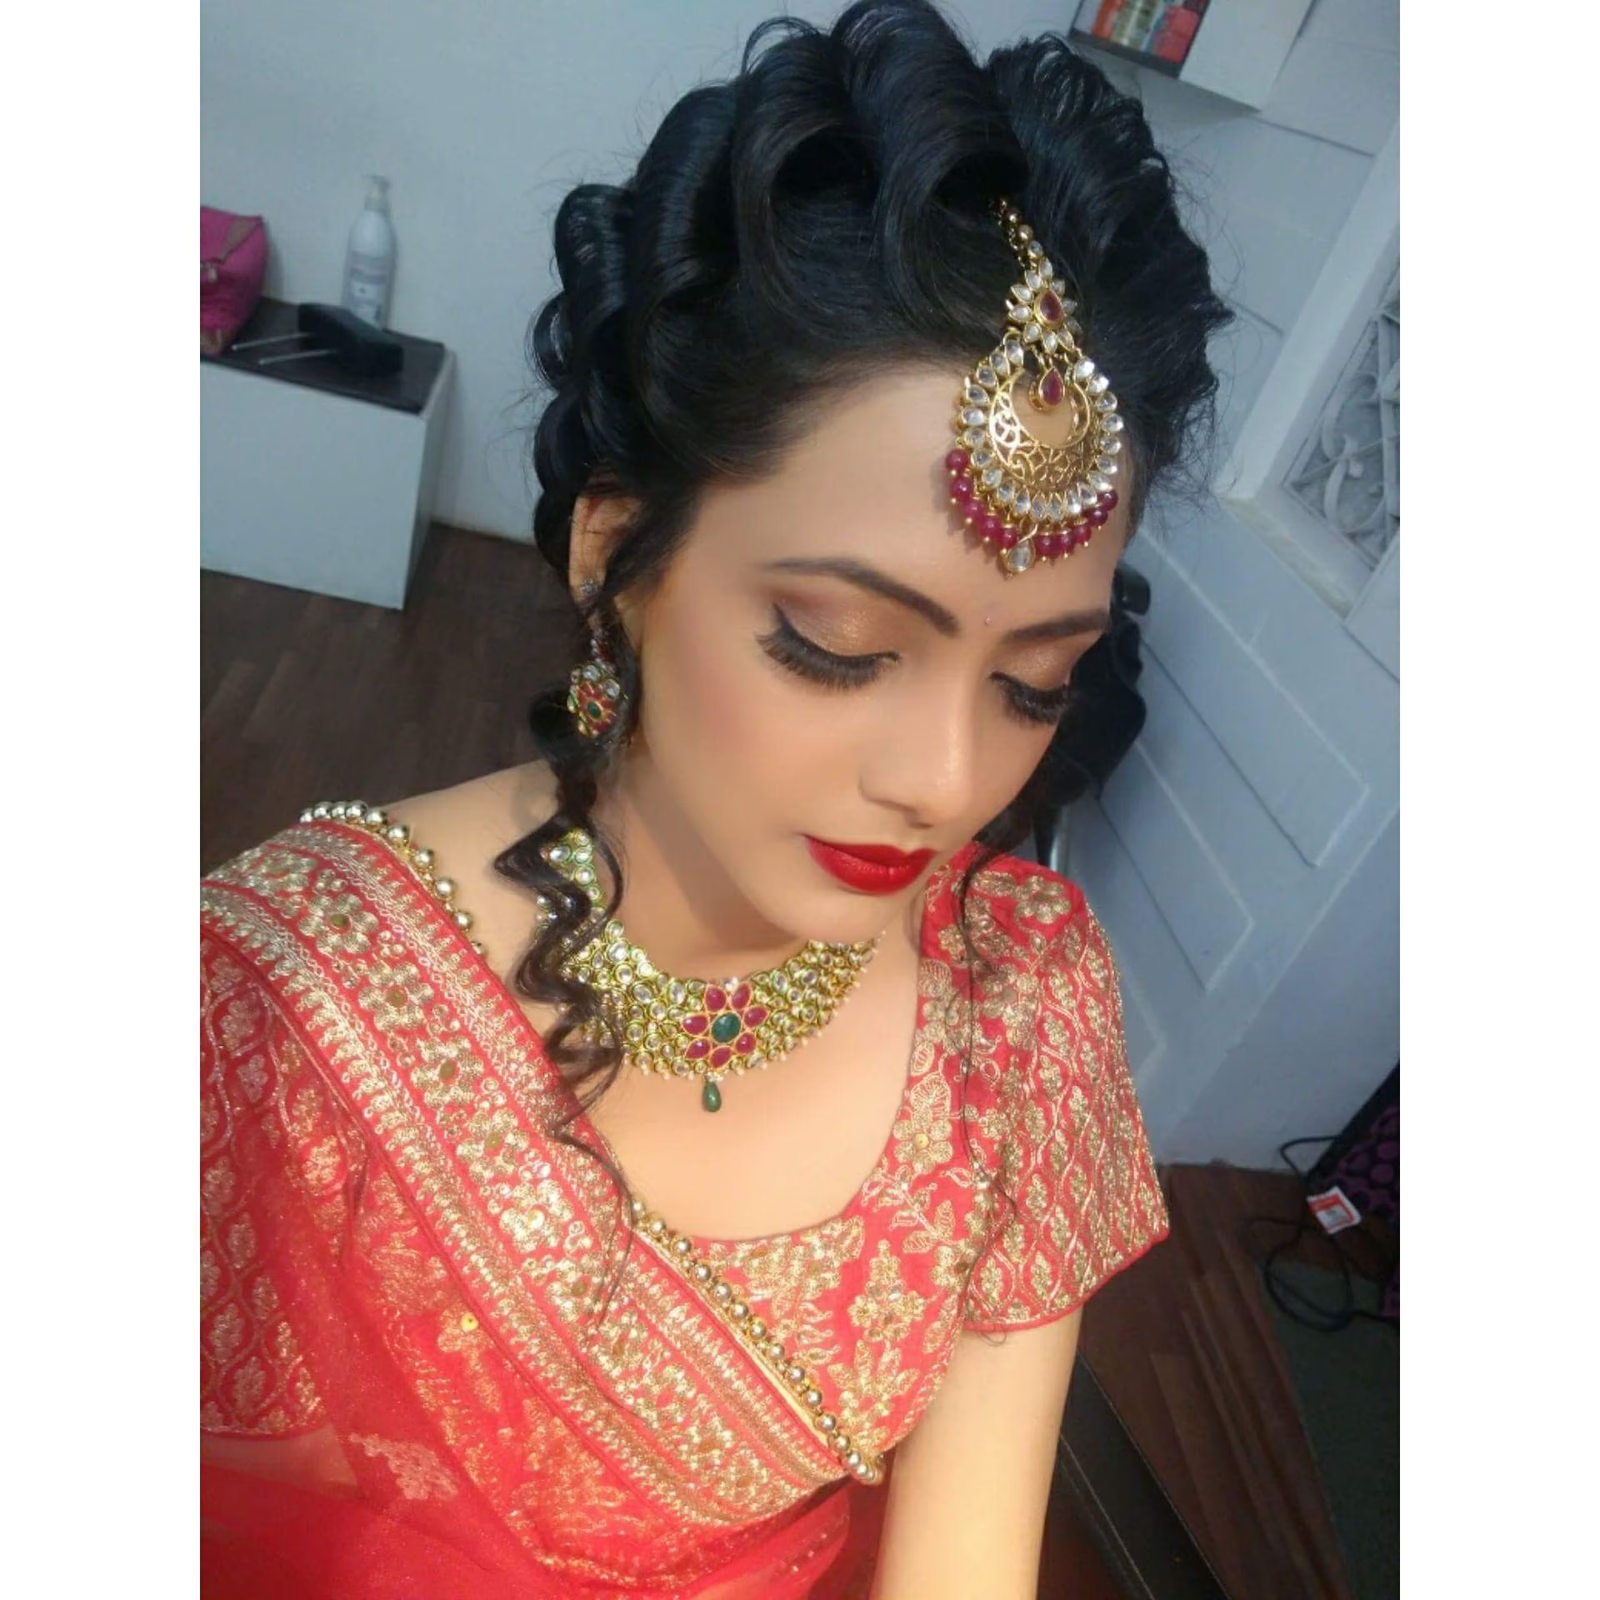
Photo: Bridal makeup .jpg by Sparkles Makeover Studio — CC BY-SA 4.0, via Wikimedia Commons.
Makeup That Photographs
The central rule is that wedding makeup should be slightly more defined than your everyday look. A camera flattens features and desaturates colour, particularly in the mixed lighting of a wedding day, so the face that reads as dramatic in the mirror usually reads as natural on screen.
Practically, that means three adjustments:
- Brows and lashes go stronger than usual. They frame the face, and a camera removes the fine detail that makes them read well in person.
- Blush and contour go one step further than comfortable. Flat lighting, which is what most reception rooms provide, takes depth out of a face. A little extra structure survives it.
- Everything gets set with powder. Shine control is the single most valuable step for anyone who will be photographed with flash.
The reason is worth understanding rather than just following. Photographs do not record what you see; they record reflected light, and flash light is a hard, frontal, colourless source. It removes shadow, which is what gives a face shape, and it bounces off any oily surface as a bright highlight. Makeup that adds structure and removes shine is compensating for the light you will actually be photographed in.
Flash, Sunscreen and the White Cast
There is one technical trap that ruins more wedding photographs than any other styling mistake, and it has nothing to do with the dress.
Sunscreen and many setting powders contain mineral filters or silica that reflect light at a different angle from human skin. Under direct flash, the result is a white or grey cast across the face, sometimes called flashback. It is invisible in the mirror and obvious in every photograph.
If you are having makeup done the morning of a wedding, ask specifically whether the products are flash-safe, and avoid heavy mineral sunscreen on the face for the day itself. If your skin needs SPF, use a chemical filter rather than a physical one on the day, and test it in a photograph with flash before relying on it.
The same principle applies to highlighter and setting sprays. Anything designed to reflect light will reflect the flash, which is why a subtle shimmer that looks beautiful in daylight can read as a bright patch on every photo of the reception.
A Preparation Calendar That Actually Works
Timing matters more than the list of products, because anything that reddens, peels or needs recovery has to happen weeks before the wedding rather than days.
Six to eight weeks out: a haircut and colour, and any change to your usual style. This is also the time to start a straightforward skincare routine rather than a complicated one.
Four to six weeks out: a makeup trial, photographed in similar light to the wedding. Bring photographs of looks you like, and take test shots with a phone using flash. This is the point at which a plan can still change.
Two weeks out: a second cut or colour if needed, brow shaping, and any waxing or threading, so there is time for redness to settle.
One week out: nothing new. No new facial, no new product, no new technique. Reactions take days to appear and days more to fade.
Two to three days out: a spray tan or self-tan if you use one, and a manicure.
The day before: water, sleep, and laying out everything you need. Shine control is easier on skin that has had eight hours of sleep.
Hair That Survives the Day
Hair is the element most likely to let a photograph down late in the day, because it has the longest exposure to wind, heat, hugs and dancing.
Pick a style by weather, not by mood. A wedding in July means humidity, and an elaborate blow-dry will not survive it. Up dos and set styles hold; loose waves in a damp climate do not.
Book your stylist to stay, or learn to reset. The one-hour touch-up between ceremony and reception is worth more than the initial styling.
Understand what flash does to shine. A hairspray finish that looks glossy in daylight becomes a bright highlight in flash photographs. Matte finishes photograph harder than they look in the mirror.
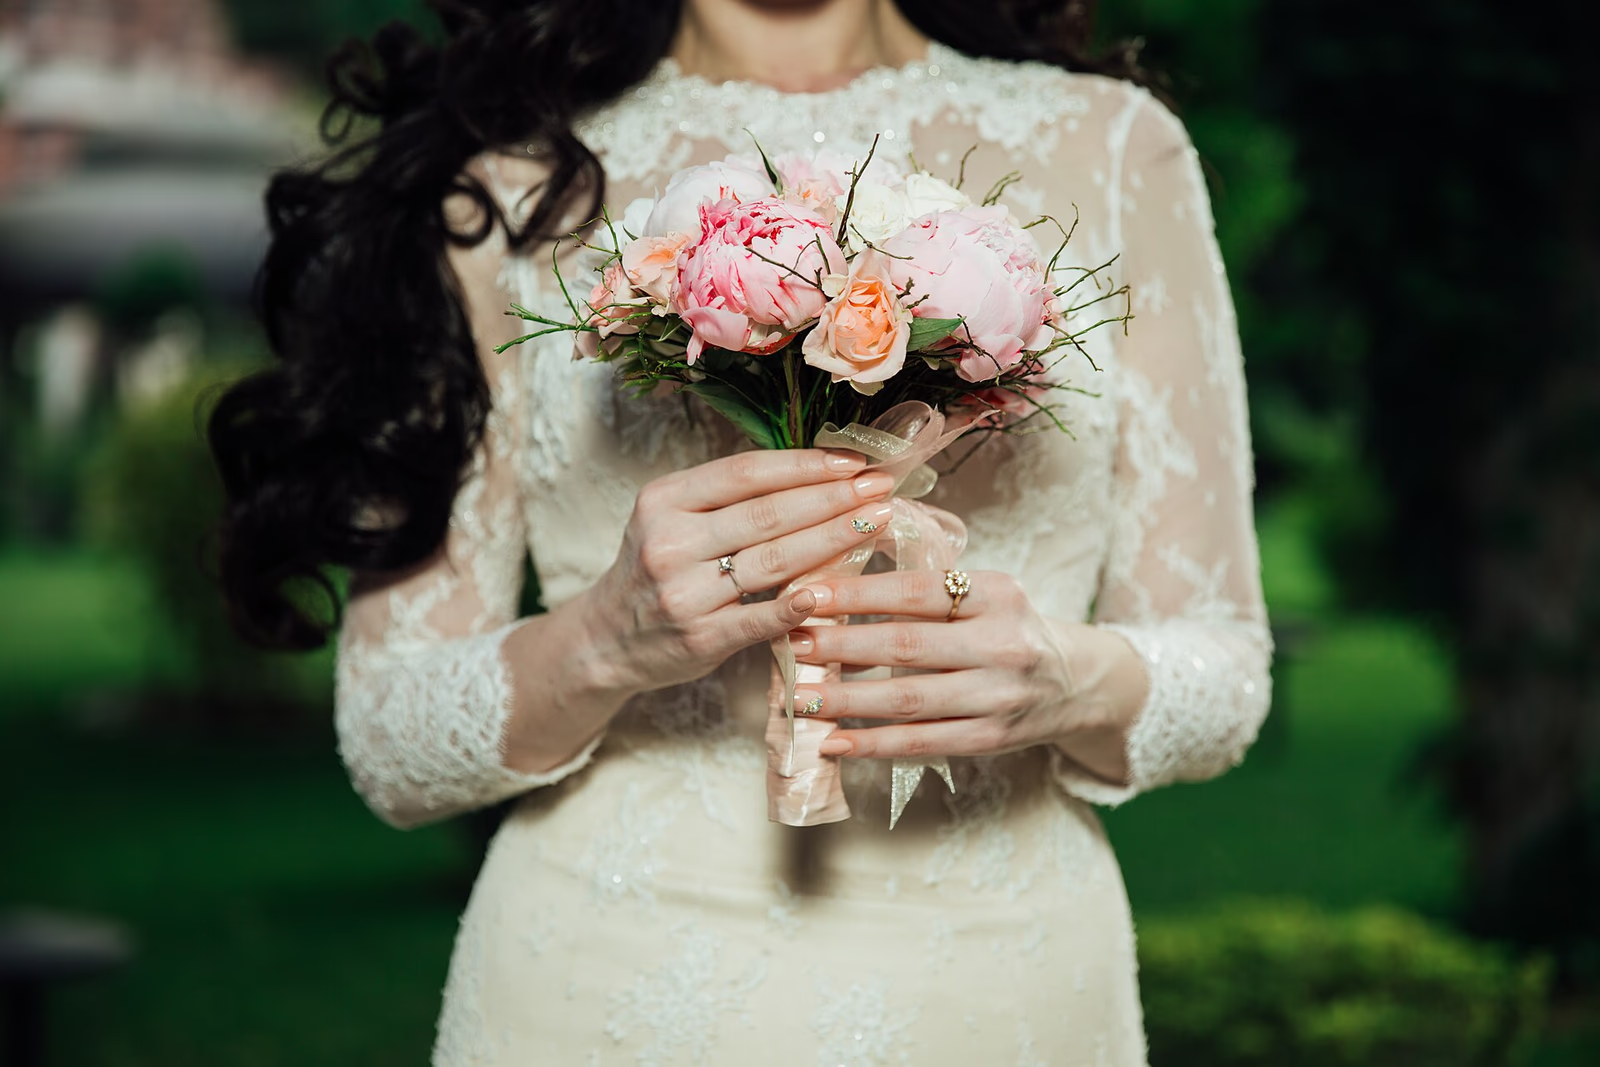
Photo: 22, Bridal bouquet (Unsplash).jpg.jpg) by Alvin Mahmudov alvinmahmudov — CC0, via Wikimedia Commons.
Confidence Is the Actual Variable
The best wedding photographs are not of the most beautiful people. They are of the most comfortable ones, and comfort is a decision rather than a personality trait.
Wear shoes you can walk in. Pain is visible in a face. If you want the height, bring a second pair for the photographs and change after.
Fix anything that needs constant adjustment. Straps that slip, a dress that requires pulling up, a heavy up-do that gives you a headache by hour three. Every one of those turns into a hand in the wrong place in a photograph.
Practise being photographed before the day. Having your picture taken is a skill. Ask a friend to shoot ten frames on a phone in the light you will face, and look at what you do with your chin and hands. Two minutes of this removes most of the awkwardness people dread.
Prepare the group-photo logistics. Tell the photographer which family combinations matter in advance, and appoint one person per side to gather people. The most stressful twenty minutes of a wedding are the formal photographs, and they are the easiest to plan around.
For Bridesmaids and Guests
The rules that apply to everyone else still apply, with a few additions:
- Avoid white, ivory and cream as a main colour. It is the bride's frame.
- Choose fabrics that photograph well. Very shiny satin and very fine mesh behave unpredictably under flash; matte and mid-weight fabrics are safer.
- Check the group photo position. Ask where you will be standing, and if you know you will be at the edge, position yourself rather than being placed.
- Keep a small kit. Blotting papers, lipstick, powder, hair pins and safety pins cover almost every emergency.
- Skip the experimental thing. A brand-new cut, colour or treatment in the week before is a risk with no upside.
Photo: Russia, Moscow Oblast. Young woman with umbrella, studio portrait.jpg by Dmitry Makeev — CC BY-SA 4.0, via Wikimedia Commons.
Practical Tips
- Apply slightly more makeup than usual. It photographs lighter than it looks.
- Define brows and lashes more than you would day to day.
- Set everything with powder, and check whether your sunscreen or powder causes flashback.
- Do a makeup trial four to six weeks before, and photograph it with flash.
- Do not try anything new in the final week. No new facial, product or treatment.
- Choose a hairstyle based on the weather and the venue, not on a mood board.
- Wear shoes you can walk in and fix anything that needs constant adjusting.
- Practise being photographed once before the wedding. It is a skill, and it responds to rehearsal.
- Enjoy the day. Genuine comfort is visible in every frame, and it cannot be applied with a brush.
Further Reading
- wedding photography styles explained
- finding the right wedding photographer
- one-window portrait lighting setup
Conclusion
Looking good in wedding photographs comes down to three things: makeup adjusted for how cameras actually behave, preparation completed far enough ahead that the last week is calm, and enough comfort in what you are wearing to forget about it. None of that requires looking like anyone other than yourself.
The most photographed variables are the ones people forget: shine, brows, the white cast from a mineral sunscreen, and whether you are physically at ease. Get those right and the day takes care of the rest, which is the point of preparing in the first place.
FAQ
How should wedding makeup differ from everyday makeup?
It should be more defined. Cameras flatten features and wash out colour, especially in mixed indoor light, so stronger brows, slightly more visible blush and contour, and set powder are what make a face read clearly. What looks dramatic in the mirror reads as natural on camera.
What causes a white cast on faces in flash photographs?
Mineral sunscreen filters and silica-based setting powders reflect light differently from skin, producing a white or grey cast under flash. It is invisible in person and obvious in the photographs. Use a chemical sunscreen on the day, and test your products with flash beforehand.
When should I do my makeup trial?
Four to six weeks before the wedding. That leaves time to change the plan if you do not like the result, and it lets you photograph the trial in similar lighting, including with flash. A trial done the week before is a decision without a fallback.
What should I avoid in the week before the wedding?
Anything new. No unfamiliar facials, peels, products or treatments, because reactions take days to appear. Keep the final week for sleep, water and rehearsal rather than experiments.
How do I look relaxed in photographs?
Practise once before the day, wear shoes and clothing you can actually walk and move in, and fix anything that needs constant readjustment. Discomfort shows up in the face immediately, which is why comfort is a photographic decision rather than a comfort one.
What should bridesmaids and guests avoid?
Avoid white, ivory and cream as a main colour, steer clear of highly reflective fabrics that behave unpredictably under flash, and do not schedule a brand-new haircut, colour or skin treatment for the week of the wedding.