Tutorials
One Window Portrait Lighting: A Quiet Setup That Works
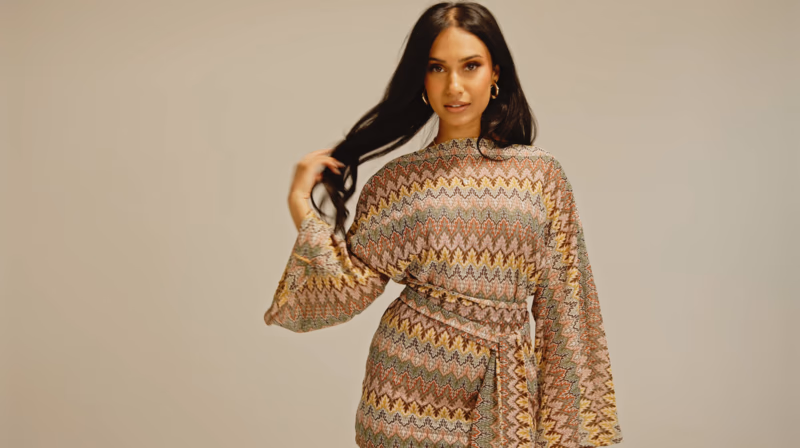
A simple portrait lighting tutorial using window direction, negative fill, background distance, and lens choice to shape a clean frame.
You do not need a large studio to make controlled portraits. You need one window, a little distance, and the patience to watch how light falls across a face.
Place The Window To The Side
Start with the subject about forty-five degrees from the window. This gives shape to the face without making the shadow side collapse into darkness.
Add Negative Fill
A dark coat, black foam board, or the unlit side of a room can deepen contrast. Negative fill is not about making the image darker; it is about giving the light edge and direction.
Move The Background
Pull the subject away from the wall when possible. Even a meter of separation lets the background soften and makes the portrait feel more intentional.
Keep The Frame Honest
Use a 50mm or 85mm lens, expose for the skin, and avoid rescuing every shadow in post. The shadow is part of the photograph.